
How to Set Up All About Spelling for Homeschool Success
I earn a commission from products purchased through links in this post.
All About Spelling is my favorite spelling curriculum. This rules-based approach breaks spelling concepts down into small bite-size pieces, making it easier for my kids to learn and memorize the spelling rules and patterns.
I’ll be honest, as an adult, I wasn’t even aware of some of these spelling rules.
I am generally a decent speller (although now I’m almost guaranteed to make a spelling error in this post), but I learned through strict memorization of patterns. I couldn’t teach the rules because I didn’t know the rules.
Figuring out how to set up All About Spelling can be a bit confusing at first.
After the first level, setting up All About Spelling gets easier. We are now on level 4, and I promise it is quick and easy. In 30 minutes or so, you can get everything ready to teach spelling for the next few months.
The best part is that once the supplies are in place, there is NO additional prep until the next level! You will only need to set up All About Spelling once.
Grab your All About Spelling student packet and review box and turn on your favorite HGTV show (House Hunters or Fixer Upper for me), and let’s get started.
How to Set Up All About Spelling for Homeschool Success
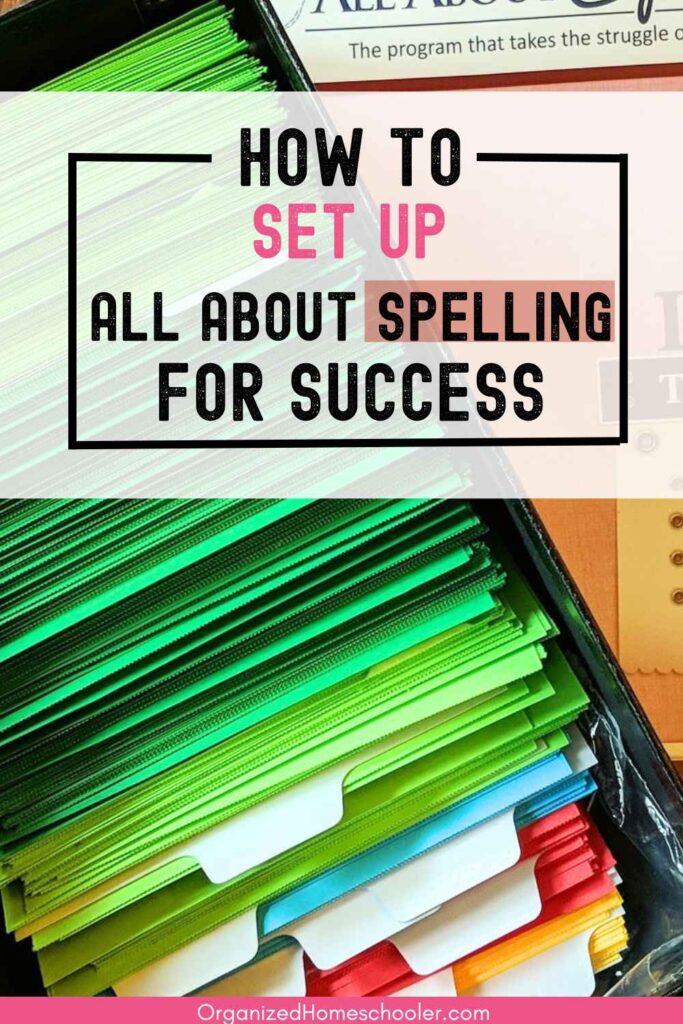
Prepare your All About Spelling Review Box
Set up All About Spelling Level 1
Place all of the tabbed dividers in the box in this order:
- Phonogram Cards Review
- Phonogram Cards Mastered
- Phonogram Cards Future Lessons
- Sound Cards Review
- Sound Cards Mastered
- Sound Cards Future Lessons
- Key Cards Review
- Key Cards Mastered
- Key Cards Future Lessons
- Word Cards Review
- Word Cards Mastered
- Word Cards Future Lessons
I suppose that the tabbed dividers could go in any order, but this is what works for us. A quick glance lets me see how many skills are left in a level.
Set up All About Spelling Level 2+
You can skip this set if you are working on level 1.
Next, remove the word cards from previous lessons. I like to leave the previous level, just so they are available for a quick review. All other levels are taken out of the box (I put them in a ziploc bag and put them in my homeschool closet). Leave the previous levels of phonogram, sound, and key cards in the review box.

Separate the Cards and Place Them Behind the Future Lessons Tabs
The student cards arrive color-coded and printed on perforated paper. Separate the cards and file them behind the correct section of the review box.
This is the most time-consuming portion of setting up All About Spelling. Thankfully, it doesn’t take much attention, so it is a nice way to be productive while watching a show. It is perfect for those times when you don’t really feel like doing anything, but know you should be productive.
Put the Student Papers in a Convenient Location
The student pack comes with all of the papers your child will need. All of the handouts, word sheets, word banks, progress charts, achievement certificates, and stickers are all included.
Put these papers in one convenient location so you can grab them quickly when they are needed for a lesson. I store my children’s All About Spelling papers in the pocket of their divider in my lesson plan book.
I always have my lesson planner within arm’s reach while I’m teaching, so I can quickly grab any papers needed with no advance prep.

Attach the Magnets to the Back of the Letter Tiles
Set up All About Spelling Level 1
Separate all of the letter and phonogram tiles. Small magnets are included with the first set. Just peel off the back and stick them to the back of the tile.
You will have magnet squares left over. Keep them! You will be able to use them with future levels.
Set up All About Spelling Level 2+
New letter tiles will show up with each level. Unfortunately, magnet squares are not sent after the initial order. I didn’t realize that with my first order and tossed the leftover magnets. That’s okay, though!
I used a teaching hack from my classroom days – cut up magnetic business cards. The business cards have a sticker on one side and a magnet on the other. I just cut up the business cards into little pieces and stuck them to the back of the tiles. One box of these business cards lasts forever. We are going on our 3rd year with the same box!
Set Up the Magnetic White Board
An illustrated guide to setting up the magnetic tiles is included in the teacher manuals. I don’t worry about the exact placement, though. My classroom (aka dining room) magnetic whiteboard is most functional with the letter tiles along the bottom.
This leaves plenty of room for other subjects and notes. I also deviate a bit from the recommended letter tile placement because I put all of the tiles up at once, not waiting to put them up only when needed.
This lets me use multiple levels for my kiddos at the same time with the same board.
Keep reading . . .
- All About Spelling Homeschool Curriculum: An Honest Review
- Everything You Ever Wanted to Know About All About Spelling
- Detailed All About Reading Level 1 Review
- All About Math Level 5: Everything You Need to Know
- Current Homeschool Sales, Deals, and Coupon Codes
As an Amazon Associate I earn from qualifying purchases.